Disclosure: This page may contain affiliate links. I may earn a commission at no extra cost to you if you purchase through one of these links.
Creating polished visual content traditionally requires design skills, stock-image searches, or complicated editing software. NanoFlow offers a different approach: describe the image you want, use NanoBanana to generate or edit it, and refine the result through additional instructions. For beginners and small online business owners, this type of prompt-based workflow can make visual production more approachable.
Affiliate disclosure: This article contains an affiliate link. If you purchase through that link, the publisher may receive a commission at no additional cost to you. Always review the current product details, pricing, usage terms, and refund policy before buying.
What Is NanoFlow?
NanoFlow is presented as an image creation and editing solution built around NanoBanana. Its main appeal is the ability to communicate visual ideas with ordinary written instructions rather than constructing every element manually.
The product’s marketing uses the phrase “Google Robot” to describe the underlying AI-assisted experience. That phrase should be understood as informal marketing language, not as a promise that the software will think independently, produce perfect results, or replace professional creative judgment.
In practical terms, the workflow is straightforward. You enter a description, allow the system to interpret it, review the generated image, and submit more instructions when changes are needed. Depending on the available features, you may also be able to upload an existing image and request targeted edits. AI Funnel Builder Guide: Launch Automated Sales Funnels Without a Copywriter or Designer
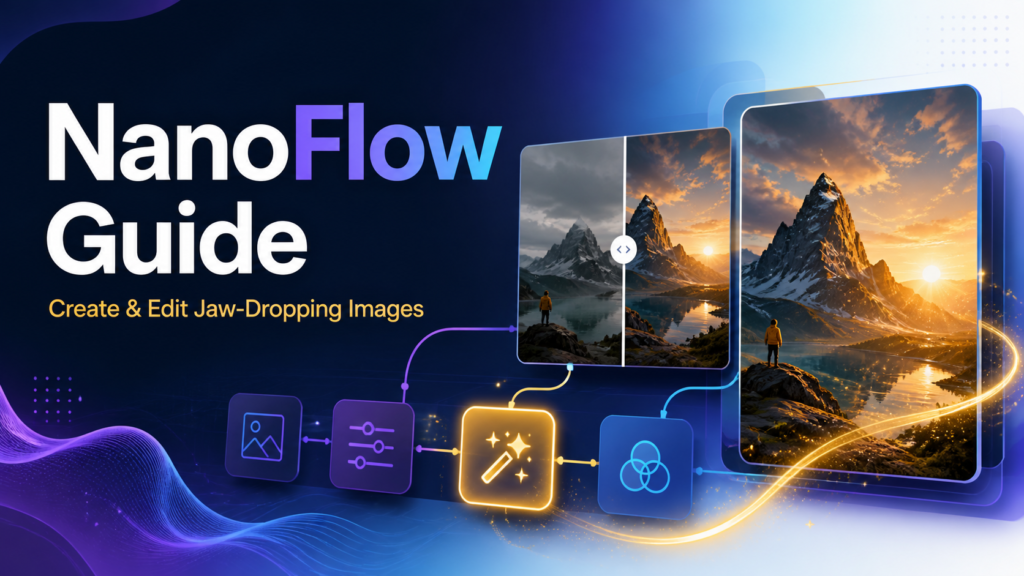
Create & Edit Jaw Dropping Images Using Only NanoBanana
The phrase Create & Edit Jaw Dropping Images Using Only NanoBanana captures the central promise of this workflow: words become the main creative interface. Instead of navigating layers, masks, brushes, and advanced menus, you explain the subject, setting, style, composition, and desired changes.
However, “jaw dropping” is subjective. AI image quality depends heavily on the prompt, the complexity of the scene, the source image, and the amount of refinement performed. Hands, small text, product details, logos, and crowded compositions may require multiple attempts or external finishing work.
NanoFlow is therefore best viewed as a creative production assistant. It may help users explore concepts, build drafts, and prepare useful visual assets, but human review remains essential.
Who May Find NanoFlow Useful?
NanoFlow may be relevant to people who need regular visuals but do not want to begin with professional design software. Potential users include:
- Affiliate marketers creating blog graphics and promotional concepts
- Online shop owners preparing product-scene mockups
- Course creators developing lesson covers and presentation visuals
- Social media managers experimenting with campaign imagery
- Bloggers producing featured images and supporting illustrations
- Freelancers creating visual drafts for client approval
- Local businesses planning posters, menus, or seasonal promotions
The tool may be less suitable for projects that require exact technical diagrams, perfectly reproduced branded products, legally controlled assets, or pixel-level editing. Those tasks can still require specialist software and professional oversight.
How to Build a Strong Image Prompt
A vague request such as “make a business image” gives the system very little direction. A stronger prompt works like a compact creative brief. It explains what should appear, how it should be arranged, and what the final image should communicate.
1. Identify the main subject
Begin with the most important person, object, or scene. Be specific without adding unnecessary complexity.
Basic: “A coffee cup on a table.”
Improved: “A handmade ceramic coffee cup on a light oak desk beside a closed notebook.”
2. Describe the setting
Explain where the scene takes place. A clear setting gives the image context and helps control background details.
For example: “Inside a bright home office with neutral walls, a small plant, and soft morning light.”
3. Specify composition and viewpoint
Composition affects whether an image is useful for a blog, advertisement, or social post. Ask for a close-up, overhead view, wide scene, centered composition, or empty space for a headline.
For example: “Wide horizontal composition, product positioned on the right, clean negative space on the left.”
4. Add a visual direction
Describe the intended look with phrases such as realistic studio photography, minimal editorial illustration, soft watercolor, cinematic scene, or clean three-dimensional render. Avoid requesting direct imitation of a living artist. Describe the broader visual qualities instead.
5. State what should be excluded
If the interface supports exclusion instructions, identify common distractions. You might request no visible logos, no watermark, no clutter, no extra objects, and no embedded text.
A Practical NanoFlow Workflow
Step 1: Define the image’s job
Decide where the image will be used before generating it. A blog header, square social image, product mockup, and email banner all require different compositions. Write down the platform, approximate dimensions, audience, and desired action.
Step 2: Start with a simple concept
Do not overload the first prompt with ten subjects and several competing styles. Generate the main scene first. Once the composition is stable, add supporting details through smaller edits.
Step 3: Review the entire image
Look beyond the attractive parts. Check faces, fingers, reflections, shadows, object edges, background items, spelling, and brand consistency. Enlarge the image before approving it.
Step 4: Request one major change at a time
Editing is easier to control when each follow-up prompt has a clear purpose. For example, first change the background, then adjust the lighting, and finally create more empty space. Asking for every alteration at once can produce unpredictable results.
Step 5: Save useful variations
Keep more than one promising version. A later edit may improve one detail while weakening another. Saving earlier outputs gives you options and helps prevent unnecessary regeneration.
Step 6: Prepare the final file
Crop the selected image for its intended channel, compress it for web use, and choose a descriptive filename. Add meaningful alternative text when publishing online. If your design needs important wording, consider adding that text with a dedicated layout tool after the image is finalized.
Practical Prompt Examples
Blog featured image
“Create a wide editorial image for an article about organizing a small online business. Show a tidy home-office desk with a laptop, paper planner, smartphone, and two labeled storage boxes. Use natural daylight, soft neutral colors, and a realistic photographic look. Place the main objects on the right and leave uncluttered space on the left. Do not include logos or text.”
Product lifestyle scene
“Place the uploaded reusable water bottle on a stone countertop in a bright modern kitchen. Preserve the bottle’s shape and color. Add subtle morning light and a folded linen cloth in the background. Keep the bottle in sharp focus and the background gently blurred.”
When editing a real product photo, confirm that the generated version still represents the actual item accurately. Do not use AI to add features, materials, dimensions, or accessories that buyers will not receive.
Social media promotion
“Create a square promotional background for a beginner productivity workshop. Show a cheerful, organized workspace with a notebook, timer, and cup of tea. Use blue and warm cream colors, soft shadows, and a clean modern composition. Leave a clear area in the upper third for text to be added later.”
Targeted image edit
“Keep the person, clothing, pose, and camera angle unchanged. Replace only the background with a bright coworking space. Match the original lighting direction and maintain natural edges around the hair.”
Ways Small Businesses Could Use the Images
Prompt-generated visuals can support many stages of content production. A retailer might create seasonal scene concepts before arranging a physical product shoot. A blogger could develop custom illustrations for topics that are difficult to represent with generic stock photography. A course creator might build a consistent set of lesson thumbnails by reusing the same color and composition instructions.
Images may also be offered as part of a commercial service when the product’s current license permits it. Possible deliverables include blog graphics, ad concepts, simple mockups, social media image sets, and presentation backgrounds.
Calling an image “sellable” does not mean it will automatically attract buyers. Commercial usefulness depends on originality, execution, demand, licensing, presentation, and the value delivered to the customer. Check NanoFlow’s latest commercial-use terms and any rules imposed by the marketplace where you plan to publish or sell the work.
Responsible Use and Quality Control
AI-assisted images should be reviewed with the same care as other business content. Avoid using a real person’s likeness without appropriate permission. Do not create misleading endorsements, counterfeit products, fake evidence, or visuals that could confuse customers about what they are purchasing.
Be cautious with recognizable characters, trademarks, packaging, and copyrighted material. Prompting a tool to reproduce protected creative assets can create legal and platform-policy concerns. Commercial rights can vary by tool, subscription, location, and intended use, so review the applicable terms rather than assuming every output is unrestricted.
Transparency may also be appropriate. Some platforms, clients, and industries have disclosure requirements for AI-generated or heavily edited media. Check the rules that apply to your project.
NanoFlow Advantages and Limitations
Potential advantages
- Natural-language instructions can lower the initial learning barrier
- Fast concept exploration may simplify early creative planning
- Follow-up prompts can make revisions more conversational
- Custom scenes can reduce dependence on generic stock imagery
- One workflow may support both generation and editing tasks
Possible limitations
- Outputs may need several rounds of refinement
- Small text and intricate details can be unreliable
- Exact product or character consistency may be difficult
- Generated files may still need cropping, resizing, or retouching
- Usage rights and available features must be verified before purchase
Is NanoFlow Worth Considering?
NanoFlow may be worth exploring if you prefer describing visual ideas in plain language and need a faster way to develop image concepts. It appears particularly relevant to beginners, content publishers, and lean businesses that cannot dedicate extensive time to complex editing software.
It should not be treated as a guaranteed replacement for photography, illustration, or graphic design. The strongest results are likely to come from combining clear prompts, careful selection, responsible editing, and an understanding of the final audience.
If that workflow matches your needs, you can view the current NanoFlow offer here. Review the sales page for the latest features, pricing, license details, and refund conditions before making a decision.
Conclusion
NanoFlow introduces an accessible way to create and edit images through NanoBanana and your imagination. Its word-based workflow can help turn a rough concept into a visual draft, revise an existing scene, or prepare custom graphics for online business projects.
The tool is most useful when prompts are treated as creative briefs rather than magic commands. Define the image’s purpose, describe the composition clearly, refine one element at a time, and inspect every result before publishing it. With realistic expectations and responsible usage, NanoFlow could become a practical addition to a small business content toolkit.
Frequently Asked Questions
What is NanoFlow?
NanoFlow is presented as an AI-assisted image creation and editing solution using a NanoBanana-based workflow. Users describe the image or change they want through written prompts.
Can beginners use NanoFlow?
The natural-language approach may be accessible to beginners. However, users still need to learn how to write clear prompts, review image quality, and prepare files for their chosen platform.
Can NanoFlow edit an existing image?
The offer is promoted for image creation and editing. Confirm the current upload options, supported formats, output limits, and editing features on the official sales page before purchasing.
Can I sell images made with NanoFlow?
Commercial use depends on the current NanoFlow license, the rights associated with the source material, and the policies of the marketplace or client. Review all applicable terms before selling or licensing an output.
Does NanoFlow guarantee professional results?
No image-generation tool can guarantee that every output will meet professional standards. Results depend on the prompt, source material, subject complexity, editing process, and human quality control.